Installing SOA for Windows via the Graphical Interface
Installing Universal Agent for SOA via the Windows Installer Graphical Interface
To install Universal Agent for SOA for Windows using the Windows Installer graphical interface, perform the following steps:
Step 1 | Download the Universal Agent for SOA for Windows product distribution file, sb-soa-8.0.0.<level>-windows-x64.exe, to your work station. |
|---|---|
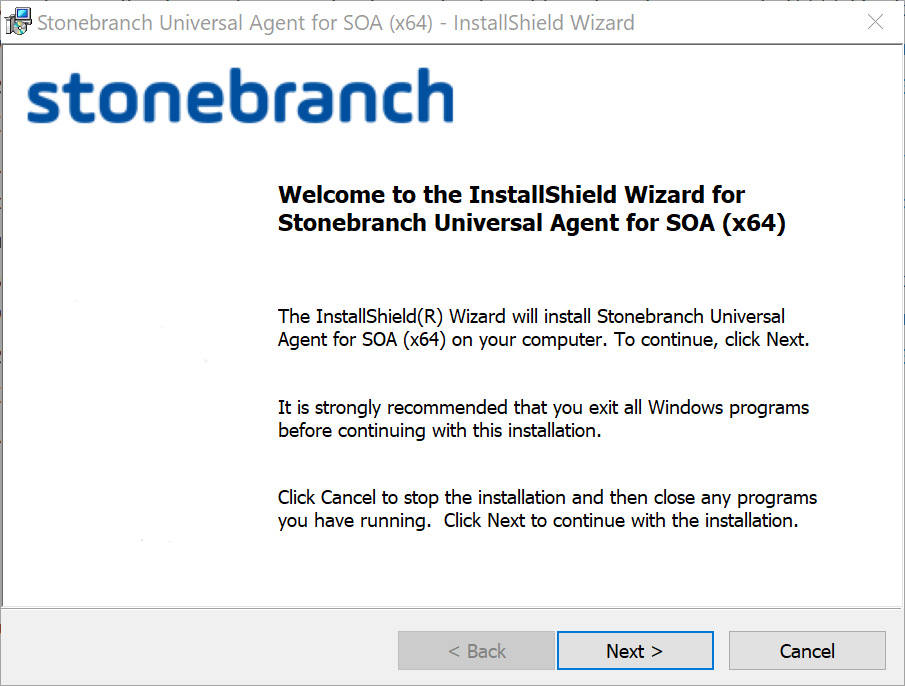
Step 2 | Execute the distribution file to extract the files. info If you already have extracted the files from the distribution file, but cancelled the installation process in order to install Windows Installer separately (see Windows Installer), you can simply double-click the extracted Universal Agent for SOA installation file, Stonebranch Universal Agent for SOA (x64).msi, to begin the installation. The installation automatically begins after the file extraction completes. It first will verify that your machine meets the minimum system requirements (see Installation Requirements). If the requirements are met, a Welcome dialog displays.
|
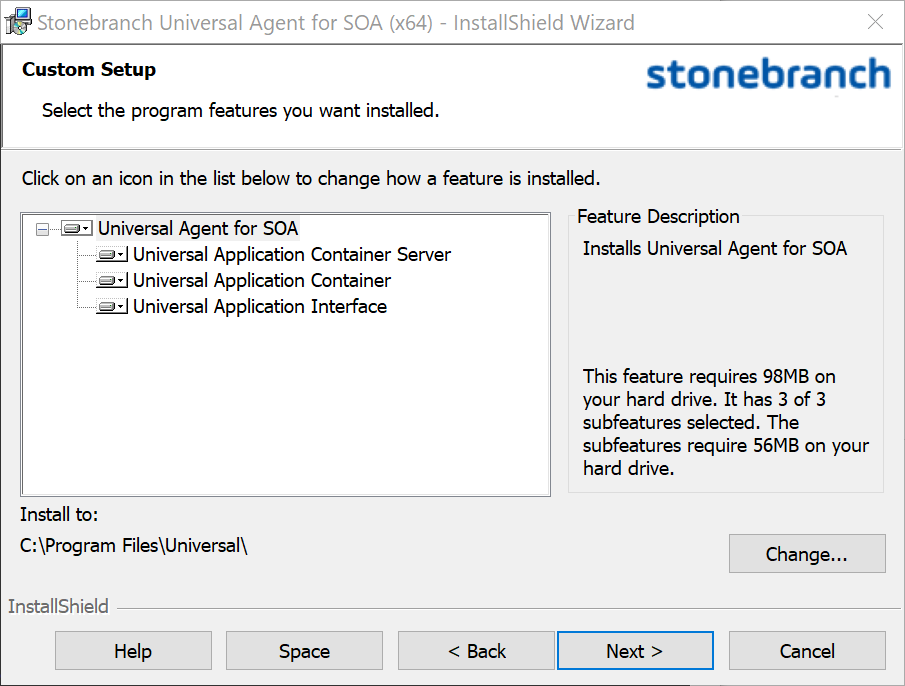
Step 3 | Click the Next button. A list of Universal Agent for SOA components included in the installation package then displays. It is from this list that you can select which components to install.
For a new installation, a drive icon displays next to each item in the list, indicating that the component will be installed. info Starting with the 6.7.0.0 release, the Universal Agent for SOA on Windows is a 64-bit application that replaces all previous versions. There is no upgrade path from the older 32-bit version to the 64-bit implementation. If the install detects an existing 32-bit version, it will prompt you to remove that version before proceeding. You are responsible for preserving your existing configuration in this scenario. PLEASE remember to collect the license information stored in the |
Step 4 | The previous figure shows that all Universal Agent for SOA components will be installed in their respective directories under the C:\Program Files\Universal directory.
|
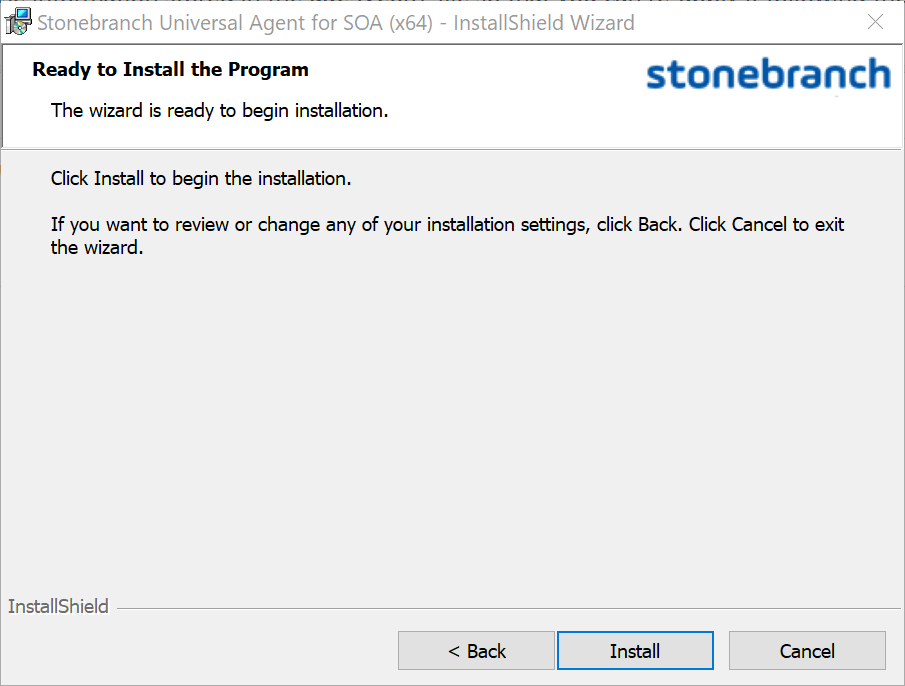
Step 5 | After verifying the install location, click the Next> button to continue the installation process. When the installation is ready to begin, the Ready to Install dialog displays.
Click the Install button to begin the installation or click the <Back button to return to change information on any of the previous dialogs. When the installation completes successfully, the Installation Complete dialog displays.
|
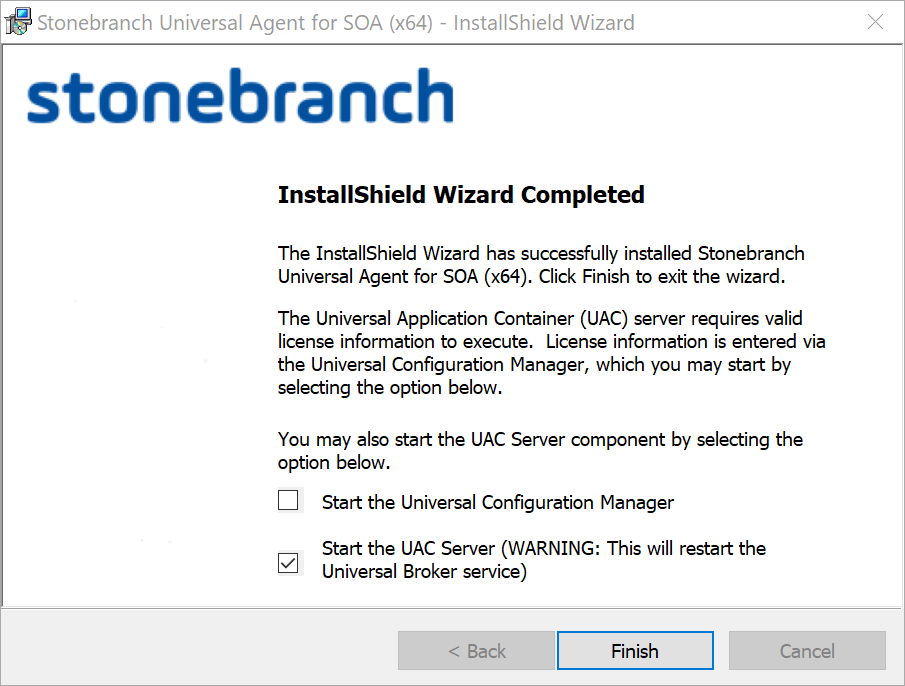
Step 6 | If the Universal Application Container (UAC) Server was installed, the following options display on this dialog:
If you don't have a Universal Automation Center Server (UAGSRV) running, you must enter license information into the Universal Application Container Server's configuration before the server will run. Otherwise, UAGSRV will obtain license information from the Universal Controller. |
Step 7 | Click the Finish button to exit the Windows installation. |