Configure OAuth for Universal Controller
After setting up the Entra App for Universal Controller, we will configure OAuth Single Sign-On Settings.
Step 1 | Login to your Universal Controller instance at |
|---|---|
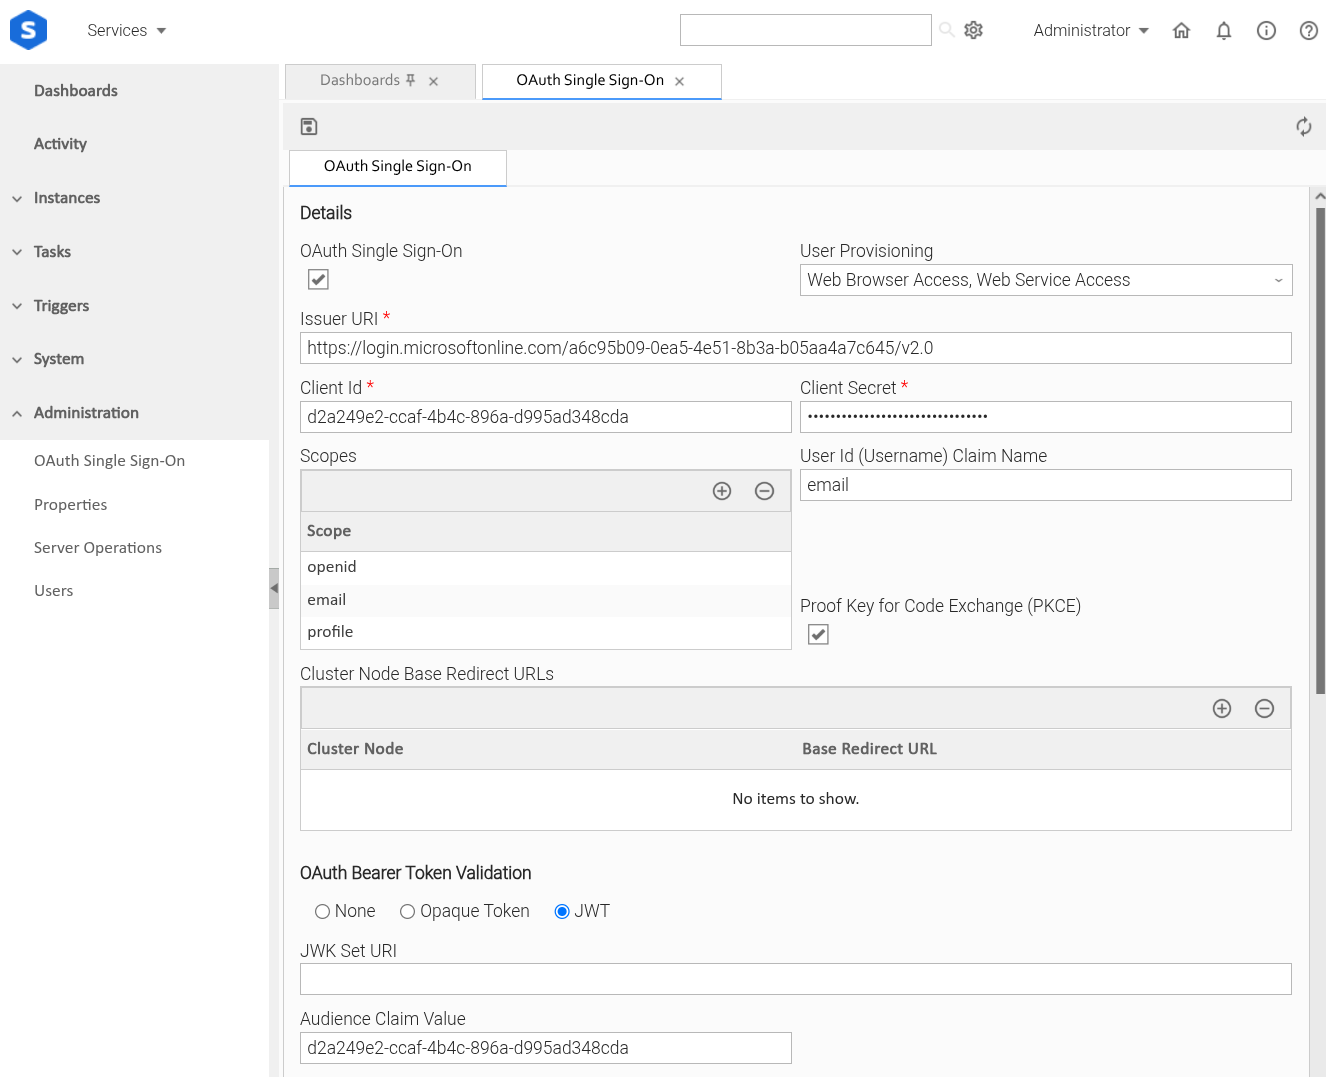
Step 2 | Go to Administration > OAuth Single Sign-on
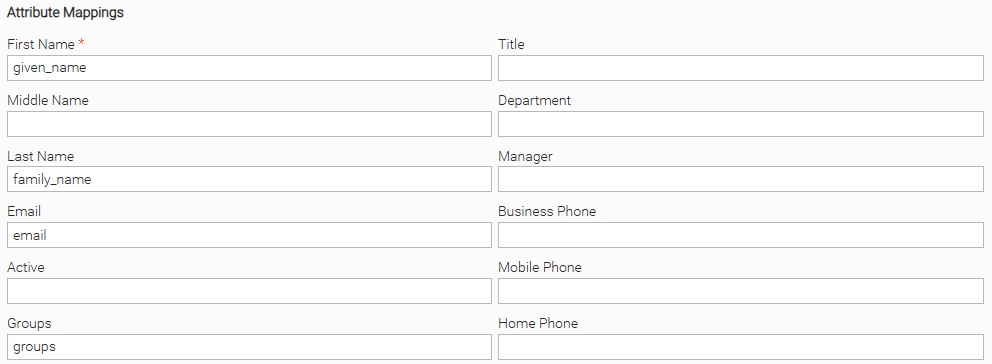
In the Attribute Mappings section, we will use the claim values from Entra:
|
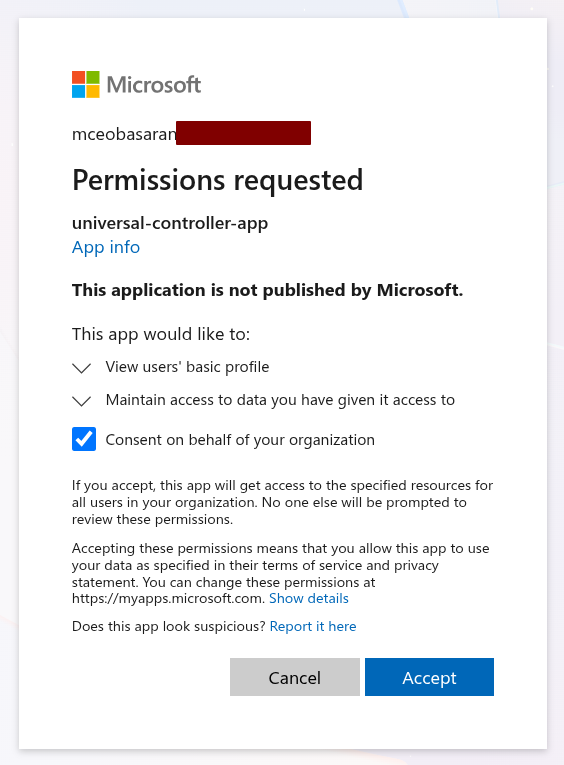
Step | Next, we will test OAuth. At this point, Universal Controller should be configured to authenticate with Entra.
You will be sent to Microsoft and prompted to sign in. At the first login, you will also be asked to give access to the Universal Controller. Give consent and click Accept.
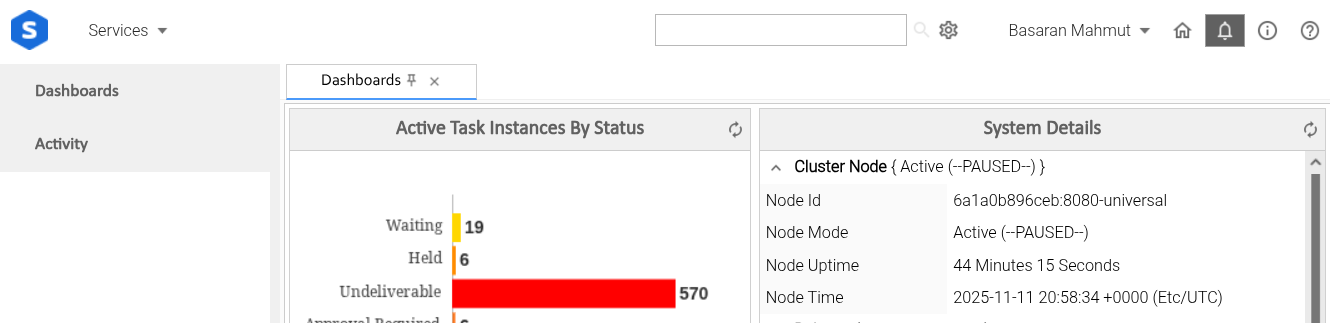
After that you will come back to Universal Controller, as your OAuth User.
|
Step | We will come back here to configure Universal Portal settings after we create another Entra application. |